

Building a WordPress Website: Tips, Tricks, and Best Practices
It’s worth mentioning that building a website is an ongoing process, so it’s important to keep learning and experimenting with new tips, tricks, and best practices. Also, Remember that the WordPress platform and the web, in general, are constantly changing and evolving, so it’s always recommended to check the latest best practices and tutorials before creating a website in order to have the most updated information.
To create a WordPress website, you will need to follow these steps:
- Choose a hosting provider and register for a hosting account.
- Install WordPress on your hosting account. Many hosting providers offer one-click installation options.
- Choose a theme for your website. You can find free and paid themes on the WordPress repository or through third-party websites.
- Customize your theme and add content to your website.
- Use plugins to add functionality to your website, such as contact forms or an e-commerce platform.
- Publish your website.
- Share your website.
It’s also worth noting that you can use website builders or managed-to-host services that take care of the whole process for you, including the installation of WordPress.
Step-by-Step Guide: Creating a WordPress Website from Scratch
- Choose a hosting provider and register for a hosting account: Before you can start creating your WordPress website, you’ll need a place to host it. There are many hosting providers to choose from, and most offer different plans to suit different needs. Choose a provider and register for an account.
- Install WordPress on your hosting account: Once you have a hosting account, you can install WordPress. Many hosting providers offer one-click installation options, which makes the process very easy. If your provider doesn’t offer this option, you can install WordPress manually.
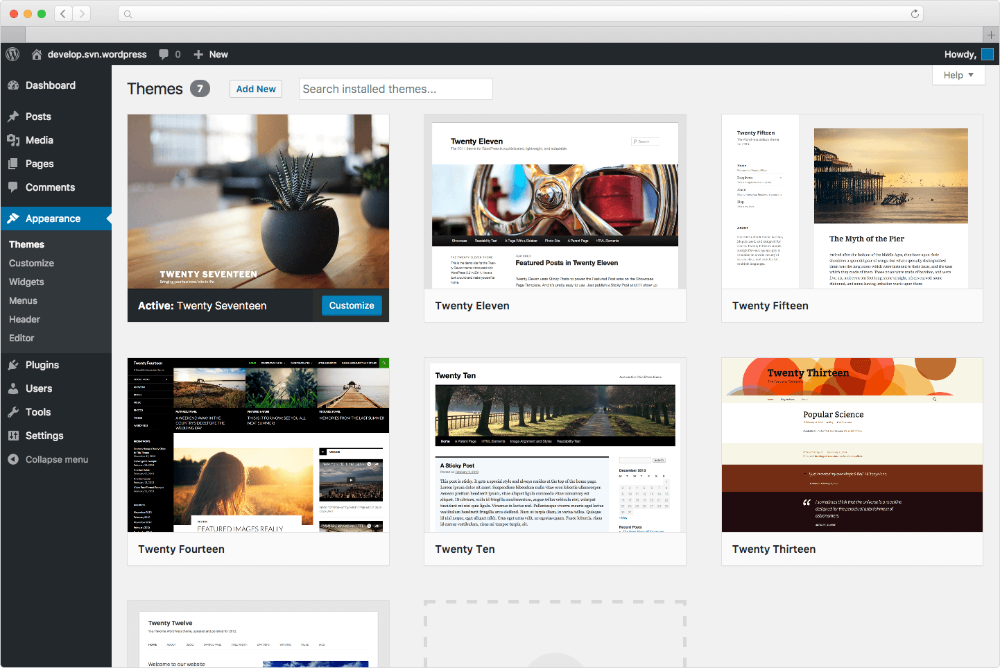
- Choose a theme: WordPress themes are templates that determine the design and layout of your website. There are thousands of free and paid themes available on the WordPress repository or through third-party websites. Choose a theme that best suits your needs and install it on your website.
- Customize your theme: Once you’ve chosen a theme, you can customize it to make it unique. You can change colors, and fonts, add your own logo, etc. You can also add pages and posts to your website.
- Use plugins to add functionality: WordPress plugins are tools that add functionality to your website. There are thousands of free and paid plugins available on the WordPress repository or through third-party websites. Choose the plugins that you need and install them on your website.
- Publish your website: Once you’ve customized your theme, added pages and posts, and installed plugins, you’re ready to publish your website. You can do this by going to the Settings > General page in your WordPress dashboard and clicking on the “Save Changes” button.
- Share your website: Share your website with the world by sharing the link to your website on social media, emailing it to friends and family, or including it in your email signature.
Note: These are the basic steps you need to follow to create a WordPress website from scratch. Depending on your needs and the theme you choose, the process may vary slightly.
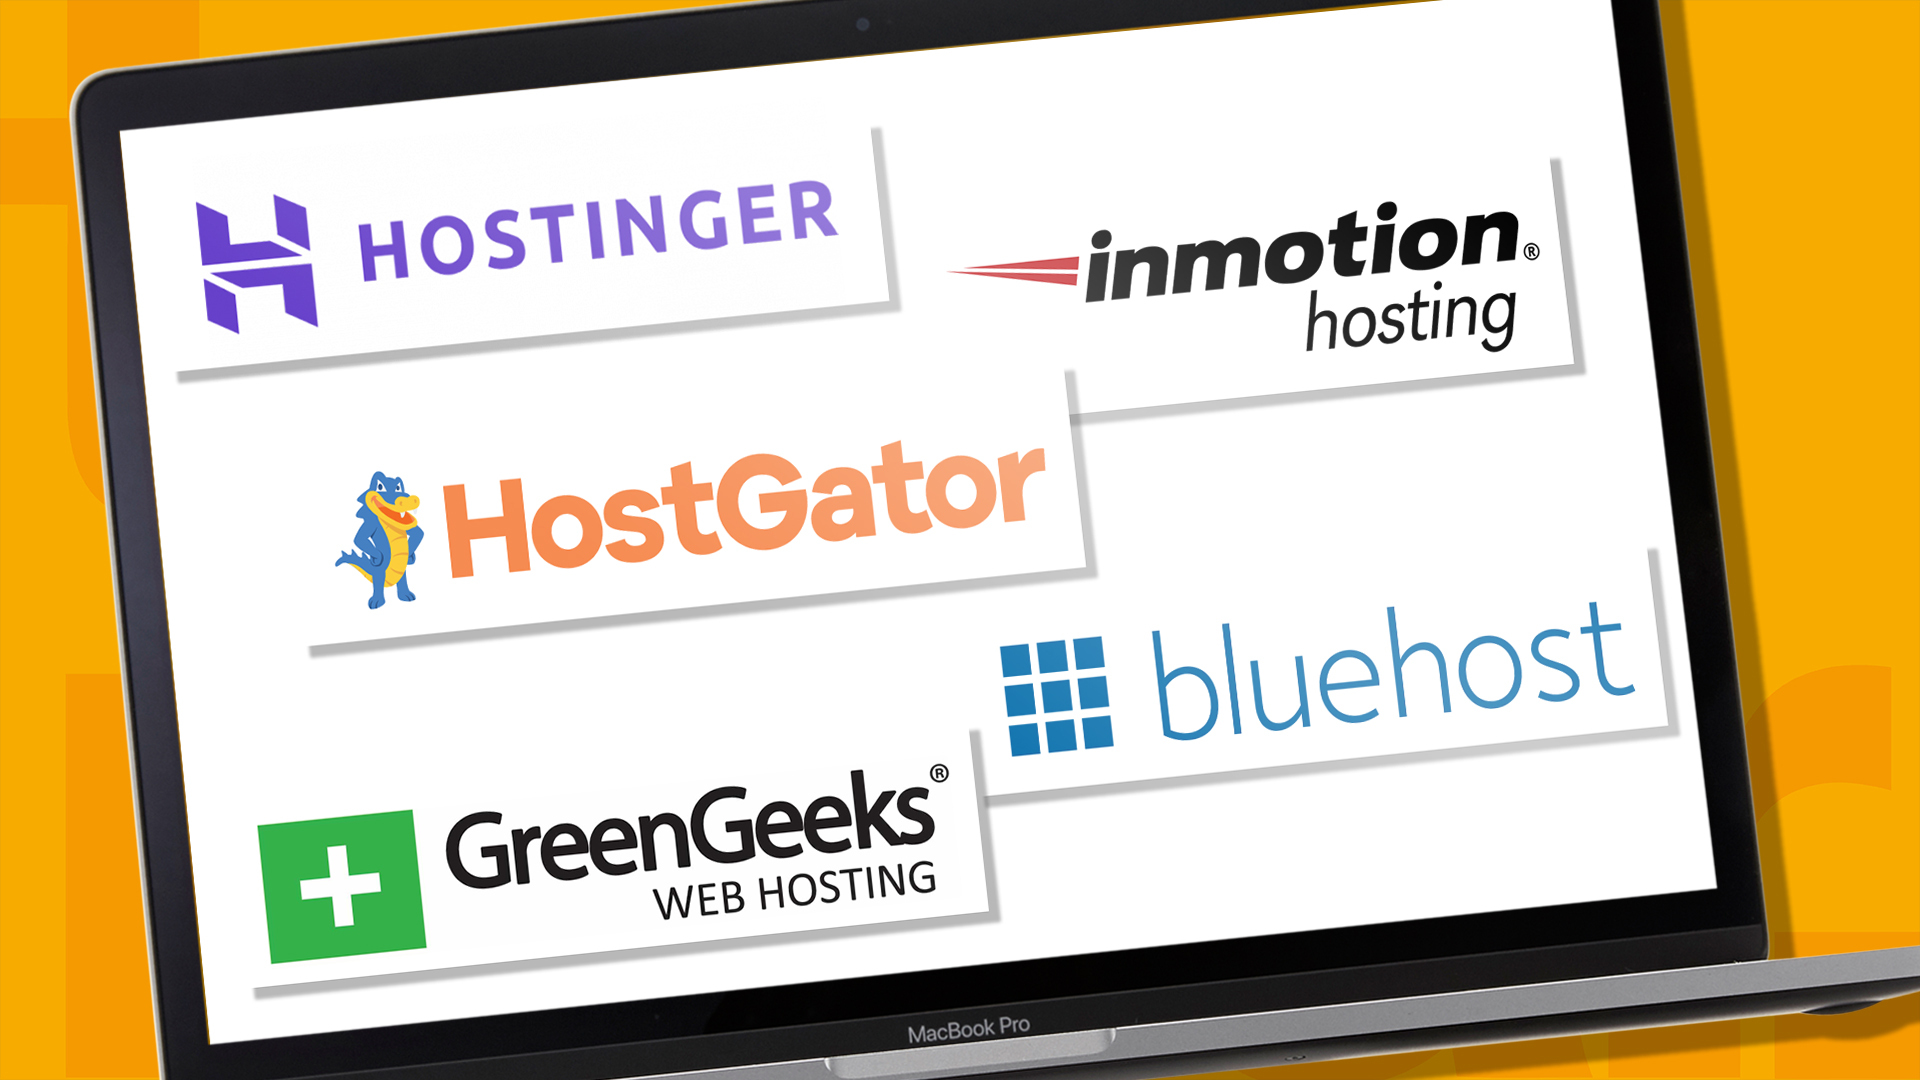
Choose a hosting provider and register for a hosting account
When choosing a hosting provider and registering for a hosting account, there are a few things you should consider:
- Type of hosting: There are several types of hosting available, including shared hosting, VPS hosting, and dedicated hosting. Shared hosting is the most affordable option, but it also means that you’ll be sharing resources with other websites. VPS hosting and dedicated hosting offer more resources, but they are also more expensive.
- Price: Hosting providers offer a range of pricing options, so it’s important to choose one that fits your budget. Keep in mind that the cheapest option may not always be the best.
- Features: Different hosting providers offer different features, such as email hosting, domain registration, and backups. Make sure to choose a provider that offers the features you need.
- Customer support: Good customer support is essential when it comes to hosting. Choose a provider that offers 24/7 support, and that can help you with any issues you may have.
- Uptime: Uptime refers to the amount of time that your website is available online. Choose a provider that offers a high uptime guarantee (at least 99.9%).
- Reputation: Do your research and read reviews of different hosting providers. Choose one that has a good reputation and has been around for a while.
- Once you’ve considered these factors, you can register for a hosting account with your chosen provider. The registration process typically involves filling in a form with your personal details and payment information.
Install WordPress on your hosting account
Installing WordPress on your hosting account can vary depending on the hosting provider you have chosen. Many hosting providers offer one-click installation options, which makes the process very easy. Here are the general steps to install WordPress on your hosting account using a one-click installation:
- Log in to your hosting account’s cPanel.
- Scroll down to the “Software” or “Website” section and find the WordPress icon.
- Click the WordPress icon, and then click the “Install” button.
- Fill out the form with the required information, such as your website’s name, admin username and password, and email address.
- Select the domain where you want to install WordPress and click the “Install” button.
Wait for the installation to complete. - Once the installation is complete, you will be provided with a link to your new WordPress website, as well as your admin login URL.
If your hosting provider does not offer one-click installation options, you can install WordPress manually. The process is a bit more complicated and requires you to:
- Download the latest version of WordPress from WordPress.org
- Create a MySQL database and user on your hosting account
- Upload the WordPress files to your hosting account
- Run the WordPress installation script
It’s recommended that you consult your hosting provider’s documentation or customer support for more detailed instructions on how to install WordPress on your hosting account, as the process can vary depending on the specific hosting provider and hosting plan you have chosen.
Choose a theme for your website
Choosing a theme for your WordPress website is an important step in the process of creating your website. A theme controls the design and layout of your website, and there are thousands of options available both free and paid. Here are some things to keep in mind when choosing a theme:
- Purpose: Consider the purpose of your website. If you’re building an e-commerce website, for example, you’ll want to choose a theme that is optimized for online sales.
- Design: Look for a theme that has a design that you like and that fits the style of your website. You can preview different themes on the WordPress repository or on third-party websites before deciding.
- Responsiveness: Make sure the theme you choose is responsive, meaning it will adapt to different screen sizes and devices. This is especially important as more and more people access the internet via mobile devices.
- Customization: Some themes are more customizable than others. If you’re planning on making a lot of changes to the design of your website, look for a theme that is easy to customize.
- Features: Some themes come with additional features, such as built-in sliders, contact forms, or custom post types. Consider which features you need and look for a theme that includes them.
- Support and updates: Look for a theme that is regularly updated and has good support. This will ensure that your theme will continue to work with future versions of WordPress and you’ll have a place to turn to if you run into any issues.
Once you’ve found a theme that you like, you can install it on your website by going to Appearance > Themes in your WordPress dashboard, then clicking on the “Add New” button, and searching for your theme by name or by browsing through the available options.
Customize your theme and add content to your website
Customizing your theme and adding content to your website are important steps in creating your WordPress website. Here are some tips for customizing your theme and adding content:
- Customize the theme options: Most themes come with a set of options that allow you to customize various aspects of the design, such as colors, fonts, and layout. You can access these options by going to Appearance > Customize in your WordPress dashboard.
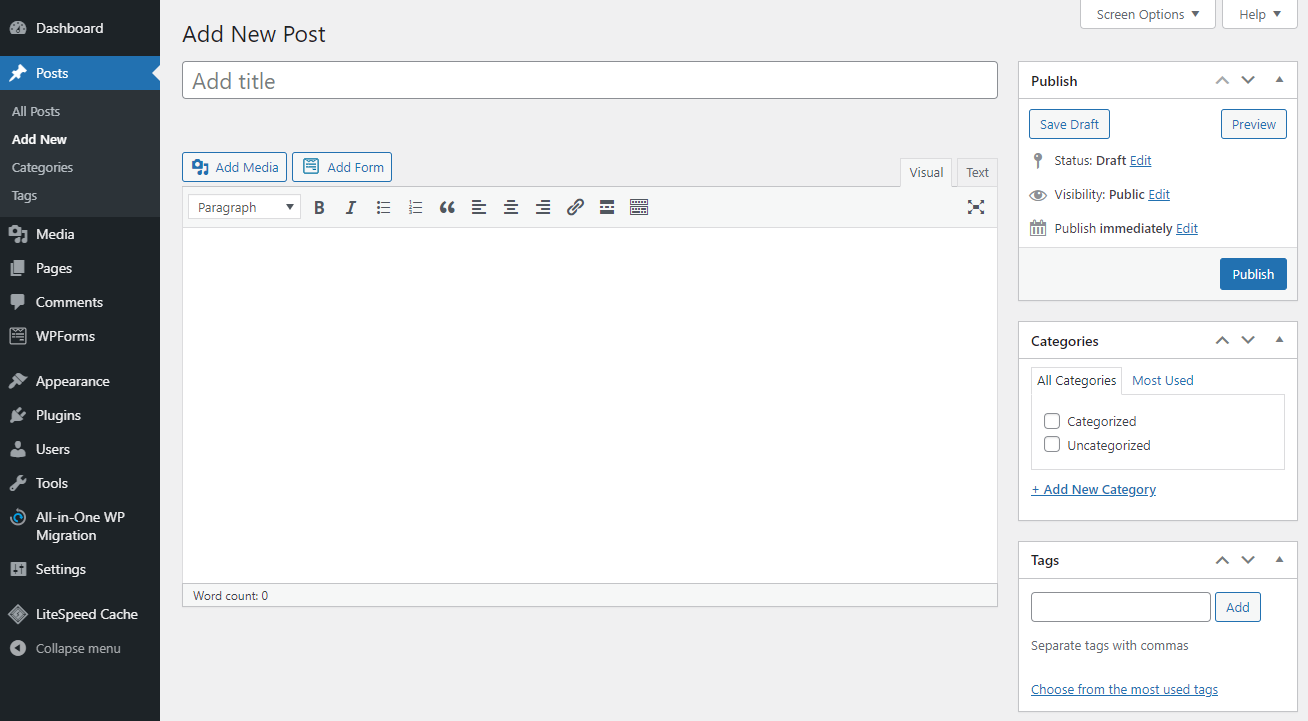
- Create pages and posts: Pages are used for static content, such as your About Us or Contact Us pages. Posts are used for dynamic content, such as blog articles. You can create new pages and posts by going to Pages > Add New or Posts > Add New in your WordPress dashboard.
- Add media: You can add images, videos, and audio files to your pages and posts to make them more engaging. You can also create galleries and slideshows to showcase multiple images.
- Use widgets: Widgets are small blocks of content that can be added to different areas of your website, such as the sidebar or footer. You can add widgets by going to Appearance > Widgets in your WordPress dashboard.
- Use shortcodes: Shortcodes are small snippets of code that can be used to add specific functionality to your pages and posts, such as buttons, columns, and forms. Some themes and plugins come with their own shortcodes that you can use.
- Add a menu: A menu allows visitors to navigate your website. You can create a menu by going to Appearance > Menus in your WordPress dashboard.
- Preview and test: Before publishing your website, make sure to preview it and test it on different devices to ensure that it looks and works as you want it to.
It’s worth noting that the exact steps and options available may vary depending on the theme you have chosen, so be sure to refer to the theme’s documentation or customer support for specific instructions.
Use plugins to add functionality to your website
- Choose the right plugins: Be selective about the plugins you install on your website. Only choose the ones that you need and that are well-reviewed and regularly updated.
- Keep it updated: Make sure to keep your plugins updated to ensure that they continue to work with future versions of WordPress and to avoid security vulnerabilities.
- Watch out for conflicts: Some plugins may not work well with others, causing conflicts or breaking your website. Be sure to test your website after installing new plugins.
- Keep it light: Having too many plugins can slow down your website. Try to use as few plugins as possible to keep your website fast.
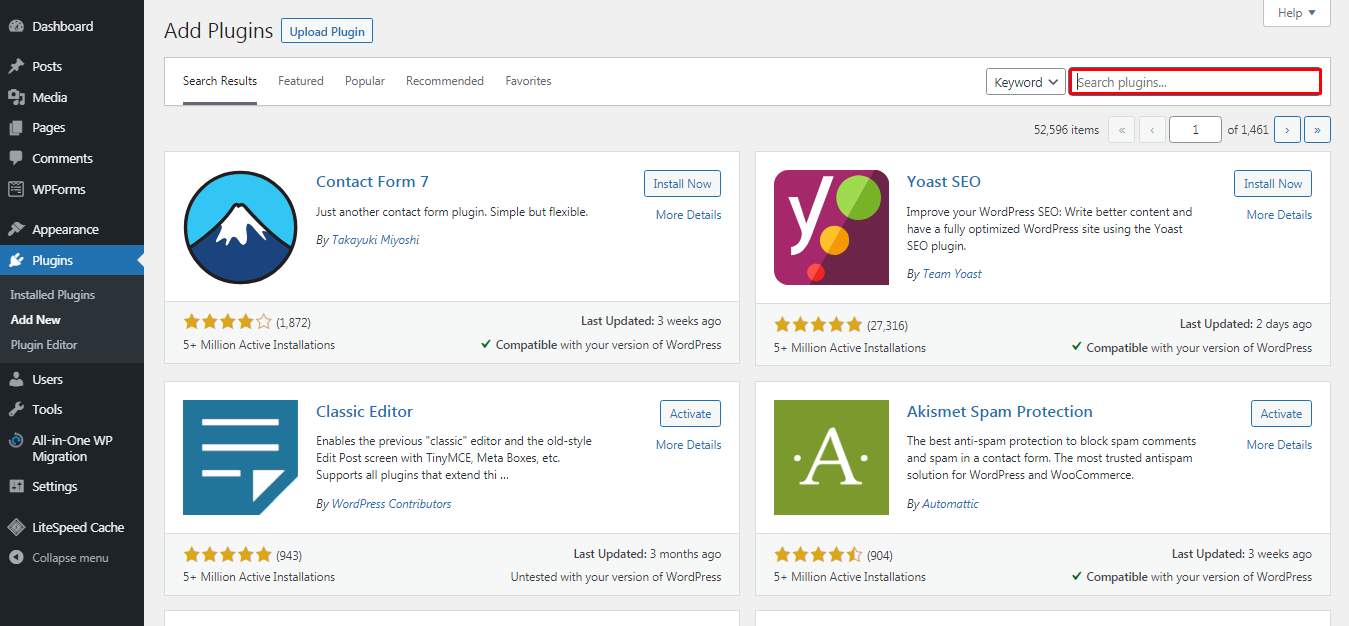
- Use popular plugins: Popular plugins are usually well-maintained, have many active users, and have good support. Some examples of popular WordPress plugins include:
- Yoast SEO: Optimize your website for search engines.
- Akismet: Spam protection for comments.
- W3 Total Cache: Optimize and cache your website for speed.
- Contact Form 7: Create contact forms for your website.
- Gravity Forms: Advanced forms for your website.
- Check your website’s performance: Keep an eye on your website’s performance after installing new plugins. If you notice that your website is running slow or you see error messages, check which plugin is causing the problem and consider deactivating or removing it.
To install a plugin on your website, you can go to Plugins > Add New in your WordPress dashboard, search for the plugin by name, and click the “Install” button. Once the plugin is installed, you can activate it and configure its settings by going to Plugins in your WordPress dashboard.
 Publish your website
Once you’ve completed all the steps to create your WordPress website and you’re satisfied with its design, functionality, and content, it’s time to publish it and share it with the world. Here are some tips for publishing and sharing your website:
- Double-check everything: Before publishing your website, double-check that all of your content is accurate and that all of the links on your website are working properly.
- Update your permalinks: Permalinks are the permanent URLs to your pages and posts. You can update your permalinks by going to Settings > Permalinks in your WordPress dashboard.
- Submit your website to search engines: To help people find your website, you can submit your website to search engines like Google and Bing. You can do this by going to Settings > Reading in your WordPress dashboard and checking the box “Discourage search engines from indexing this site.” Once you’re ready, uncheck it and resubmit your website to the search engines.
Note: If you are using a plugin to create a coming soon page or under construction page, make sure to deactivate it or remove it.
Once you’ve published your website, it should be visible to anyone who types in your domain name or clicks on a link to your website. Keep in mind that it may take some time for your website to propagate and be visible to everyone globally.
It’s also worth noting that some hosting providers or managed hosting services have the option to make your website live with a single click, you should check your provider’s documentation or customer support for more information on how to do it.
 Share your website
Sharing your website is an important step in making it visible to as many people as possible. Here are some ways to share your website:
- Share the link: Share the link to your website with your friends, family, and colleagues via email, social media, or instant messaging.
- Social Media: Share your website on social media platforms like Facebook, Twitter, and Instagram. You can also create a page or profile for your website on these platforms and share updates and information about your website.
- Email signature: Add your website link to your email signature. This way, every time you send an email, you’ll be promoting your website.
- Business cards: If you have business cards, add your website link to them. This can be a great way to promote your website to people you meet in person.
- Online directories: Submit your website to online directories like Yellow Pages and Yelp. This can help people find your website when they’re searching for businesses like yours.
- Advertising: Consider advertising your website online or in print. This can help you reach a wider audience and get more visitors to your website.
- Search engine optimization (SEO): Optimize your website for search engines like Google and Bing. This can help your website show up in search results when people search for keywords related to your website.
By sharing your website through various channels, you can help ensure that it’s visible to as many people as possible. Keep in mind that building a website is an ongoing process, so continue to share your website and make changes and improvements as needed.
By following these tips, you can help ensure that your website is visible to as many people as possible. Keep in mind that building a website is an ongoing process, so continue to make changes and improvements as needed and keep promoting it.