

How to Install Google Analytics in WordPress (Step by Step)
Installing Google Analytics on a WordPress website is an essential step to track website traffic and analyze user behavior. Here’s a step-by-step guide on how to install Google Analytics in WordPress:
Step 1: Sign up for Google Analytics
If you haven’t already, create a Google Analytics account by visiting the Google Analytics website and signing up for a new account.

Step 2: Get the Tracking Code
After signing up, you will receive a tracking code that needs to be installed on your WordPress website. To get the tracking code, click on the “Admin” button in the bottom left corner of the Google Analytics page.

Step 3: Create a New Property
Next, create a new property by clicking on the “Create Property” button.

Step 4: Enter Your Website Details
Enter the website details, including the website name and URL.

Step 5: Select Industry Category
Select an industry category that best represents your website.
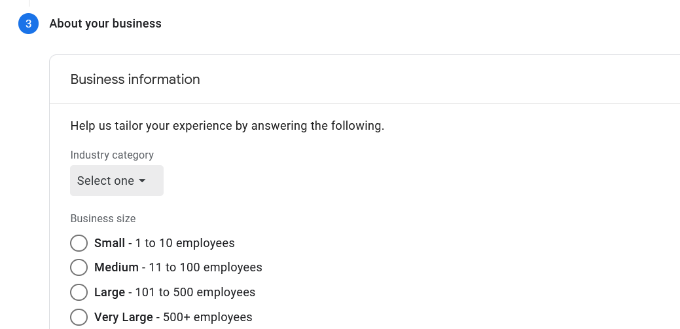
Step 6: Choose the Reporting Time Zone
Choose the reporting time zone that corresponds to your website’s location.
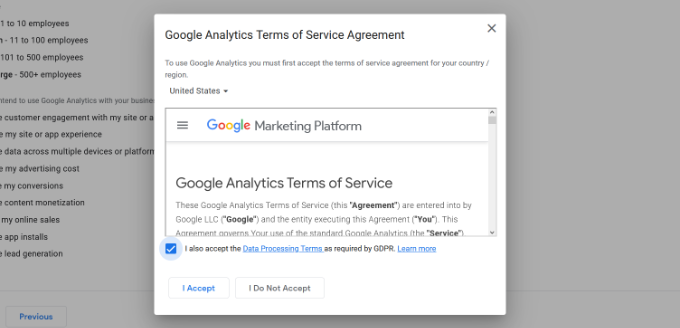
Step 7: Agree to the Terms and Conditions
Agree to the terms and conditions by checking the box.
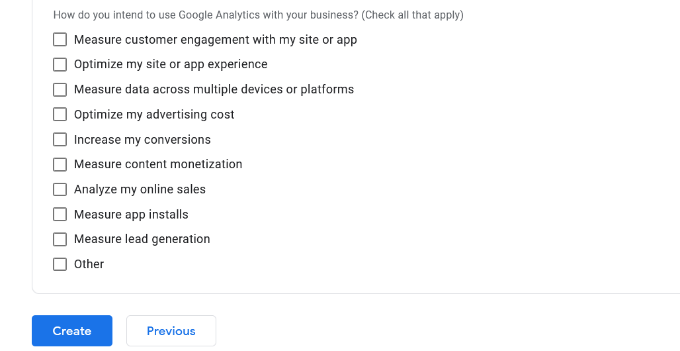
Step 8: Click on Create
Click on the “Create” button to create your new property.
Step 9: Install the Tracking Code in WordPress
After creating the new property, you will receive a tracking code that needs to be installed on your WordPress website. To do this, you can use a plugin like “MonsterInsights” or insert the code manually by editing the header.php file of your WordPress theme.
If you’re using MonsterInsights, simply install and activate the plugin, and then navigate to Insights > Settings. Click on the “Authenticate with your Google account” button, and follow the prompts to connect your WordPress site to Google Analytics. Once connected, you can choose which analytics features you want to enable and view your website’s analytics data directly from your WordPress dashboard.
If you prefer to insert the tracking code manually, open the header.php file of your WordPress theme and paste the code just before the closing </head> tag. Save the changes and then refresh your website to make sure the code is working correctly.

Step 10: Verify Installation
To verify that Google Analytics is installed correctly, visit your website and then log in to your Google Analytics account. From the dashboard, navigate to “Real-Time” > “Overview” to view the real-time traffic data for your website.
That’s it! You have successfully installed Google Analytics on your WordPress website and can now track and analyze your website traffic data.